Building Amazing Apps with the ASP.NET EmberJS Template
I have been using EmberJS for a while so I was pretty excited to work on the new EmberJS template for ASP.NET. If you are not familiar with EmberJS, I highly recommend reading through their documentation. In short though, ember is a framework for building client-side browser apps. Ember solves the same sort of problems as frameworks like BackboneJS and KnockoutJS. Personally, I prefer ember over these other frameworks as I have felt more productive with ember. Ember is very convention based, and once you learn those conventions you will find yourself able to build a lot of software very quickly.
If you are interested in more in depth look at this template, I definitely recommend reading the article written by Xinyang Qui who is the lead developer for this template. His article explains the components of the template, how the client-side app interacts with WebAPIs, and more. For this post, I want to show you some of the cool features of the template and how it can help you build amazing web apps.
Super Fast and Fluid
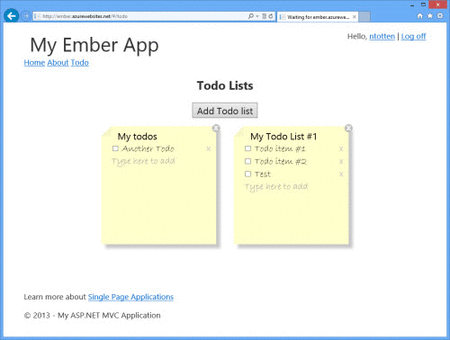
Ember makes it easy to build apps that are extremely responsive and will provide your users with a great experience. Head over to the deployed version of this template and click between the different views on the site. You will notice how fast the views load. This is because nearly everything used to render the views is loaded on the first page load. Subsequent interactions with the app are fast and fluid.
Bundles and Minification for Performance
This template uses ASP.NET bundling and minification to decrease the file size and number of requests required to load your application. This is important for any web app, but even more so with a client-side app as you are likely to have hundreds of individual Javascript files as part of your completed project.
bundles.Add(new ScriptBundle("~/bundles/app").Include(
    "~/Scripts/app/app.js",
    "~/Scripts/app/router.js",
    "~/Scripts/app/helpers.js")
    .IncludeDirectory("~/Scripts/app/routes", "*.js")
    .IncludeDirectory("~/Scripts/app/models", "*.js")
    .IncludeDirectory("~/Scripts/app/views", "*.js")
    .IncludeDirectory("~/Scripts/app/controllers", "*.js"));
Packaging of Templates
Managing EmberJS templates can be tricky. Your production site should include all of the templates in a single file or with the html page to decrease the number of requests you app makes. There are a number of strategies for packaging your templates, but we have made this process super simple with the Ember template. The template includes a helper method that renders all templates that are included in the templates folder. This means you don’t need to worry about a build process that combines these files. Additionally, when you are writing your templates Visual Studio also now includes syntax highlighting for the Mustache syntax so your code looks great even inside script tags.

Adding a New View
Now that we have seen some of the cool features from the EmberJS template lets look at customizing this template. The first thing we will do is add a new view to the app. You will see how EmberJS makes this process extremely easy.
First, create a new template file called firstTemplate.html. You can use the code below for the body of the view.
<script type="text/x-handlebars" data-template-name="first">
  <h1>My First Template</h1>
</script>
Now to wire this up the only change you need to make is to add the route. Open the router.js file in the /Scripts/app folder. Add a new route as shown below.
App.Router.map(function () {
  this.route("index", { path: "/" });
  this.route("about");
  this.route("todoList", { path: "/todo" });
  this.route("first"); // New Route
});
That is everything required to create a new view. Navigate to http://localhost:PORT/#/first and you will see your view. Its that simple!
Linking to a View
Now that we have added a new view to the application we need to link to it. This is done using a special mustache helper that is part of Ember. Open the applicationTemplate.html file in the templates folder. You will see the existing links in the <nav> element. Add a new link to the first view as shown below.
Handling Events
The final thing I want to show in this post is how you can handle an event from an ember view. For our app lets just add a simple sub-view that handles the click event. To do this add the code shown below to the firstTemplate.html that you created earlier.
<script type="text/x-handlebars" data-template-name="first">
  <h1>My First Template</h1>

    This is a clickable area!

</script>
Now we need a view object to actually handle this event. Create a file called FirstView.js in the Scripts/app/views folder. Because we are using bundles, this script file will be automatically referenced in our App.cshtml page. Add the following code to the FirstView.js file.
App.ClickableView = Ember.View.extend({
  click: function(evt) {
  alert("ClickableView was clicked!");
  }
});
That’s all there is to handling events.
Conclusion
Hopefully this post showed you a few of the reasons why EmberJS and the new ASP.NET SPA template are so cool. I will be blogging more about ember in the coming weeks so stay tuned. Additionally, this release of the template is just our first so let me know if you have any feedback or suggestions. We definitely want to keep improving the template.