Static Site Generation with DocPad on Windows Azure Web Sites
There has been a lot of interest recently with static content generation tools. These tools allow you to generate a website from source documents such as markdown and serve static html files. The advantage of static sites is that they are extremely fast and very inexpensive to host. There are plenty of ways you can host static content that is already generated, but if you want a solution that provides integrated deployment and automated generation you can easily setup Windows Azure Web Sites to host your statically generated site.
SHAMELESS PLUG: You can host up to 10 sites on Windows Azure Web Sites for free. No trial, no expiration date, completely free. :)
I have previously written about Jekyll and Github pages for generating static content. For this post I am going to use my new favorite tool, DocPad. I like DocPad because it is written entirely in Node.js. This gives you the ability to use all kinds of cool Node tools like Jade, CoffeeScript, and Less. To get started with DocPad you just need to install it using Node Package Manager. Run the following commands to install DocPad and then, in an empty directory, create and run a new DocPad site.
npm install -g docpad
docpad run
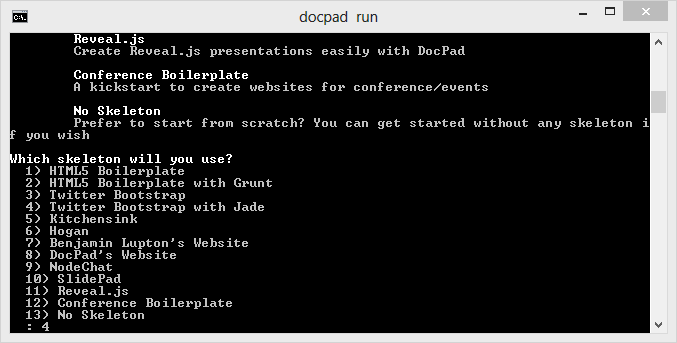
Running DocPad in an empty directory will scaffold your new site. You will be asked which template you would like to use. I am going to select “Twitter Boostrap with Jade”. DocPad will create the site and also initialize the empty folder as a git repository.
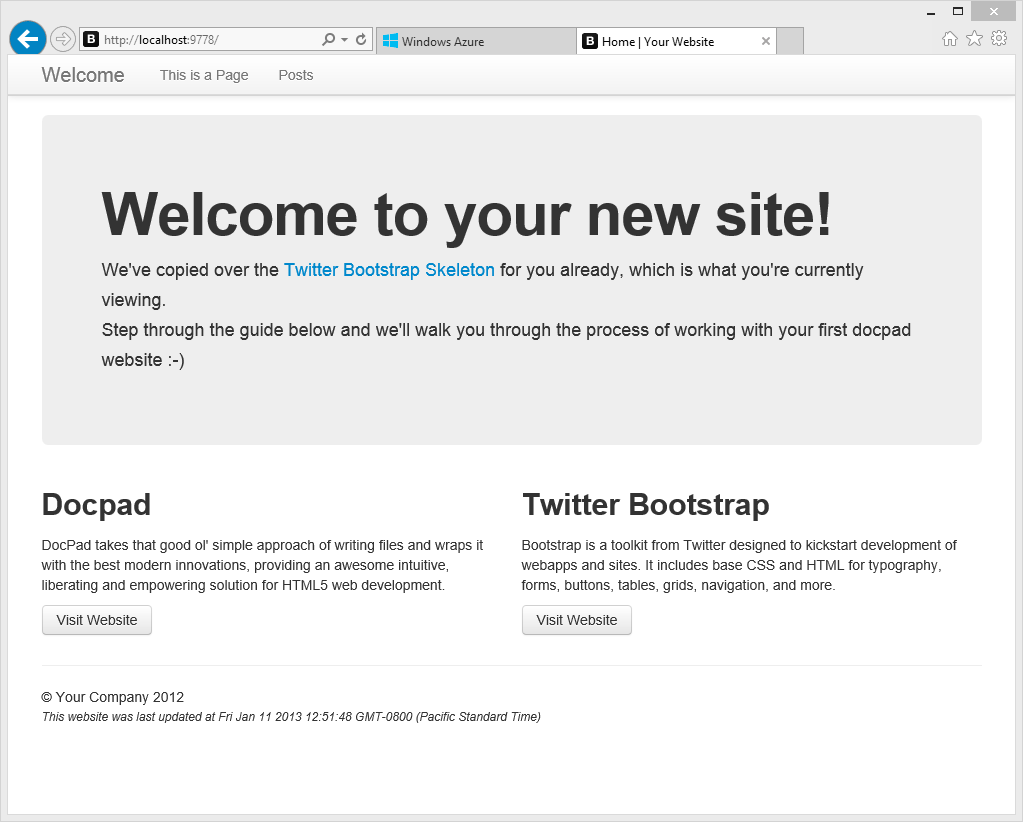
After the site is generated the docpad server will run and you can access the site at http://localhost:9778/.
Now that we have a basic DocPad site running locally we are ready to deploy it to Windows Azure Web Sites. There are a few minor changes that you will need to make in order to get the site running on Windows Azure Web Sites.
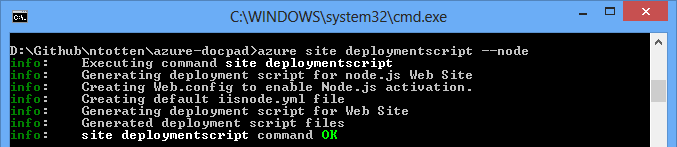
First, we need to trigger the static content to be generated when the site is deployed. In order to do this we are going to create a simple deploy script that Windows Azure Web Sites will run on each deployment. To create the default deploy script, run the following command in your site’s directory. The default deployment script will setup your site for deployment to Windows Azure Web Sites. We will make a modification to the script that will build the static content for the DocPad site.
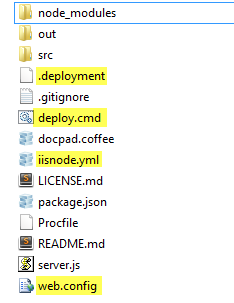
You will see four new files created in your DocPad site .deployment, deploy.cmd. web.config, and iisnode.yml. The .deployment file tells Windows Azure which command to run and the deploy.cmd is the actual deployment script. Web.config tells IIS to use the IISNode handler for serving Node.js content and iisnode.yml contains the IISNode settings.
Open the deploy.cmd file to configure the script to build our static docpad site. Inside the file you will see a section titled Deployment. This section contains two groups of commands title KuduSync **and Install npm packages. Directly after the **Install npm packages code add the lines shown below.
:: 3. Build DocPad Site
echo Building the DocPad site
pushd %DEPLOYMENT_TARGET%
call  %DEPLOYMENT_TARGET%\node_modules\.bin\docpad.cmd generate
IF !ERRORLEVEL! NEQ 0 goto error
This script will generate the static content in the /out folder. Now we need to make one minor configuration change to make sure our deploy.cmd runs correctly. By default, DocPad prompts you to agree to their terms every time your generate a static site. This will cause our Windows Azure deployment to fail. To disable this behavior simply set prompts to false in the docpad.coffee configuration as shown below.
# The DocPad Configuration File
# It is simply a CoffeeScript Object which is parsed by CSON
docpadConfig =

  # Template Data
  # =============
  # These are variables that will be accessible via our templates
  # To access one of these within our templates, refer to the FAQ: https://github.com/bevry/docpad/wiki/FAQ
  prompts: false,

  templateData:

	# Template data here...


# Export our DocPad Configuration
module.exports = docpadConfig
Next, we need to setup the server to correctly host the docpad site. This can be done with a single line of Node.js code. Create a file named server.js in the root of your site with the following content.
module.exports = require(__dirname+'/node_modules/docpad/out/bin/docpad-server');
Everything is now setup and we are ready to deploy. For this deploy I am going to use continuous integration from Github to Windows Azure Web Sites. If you haven’t already done so, you will need to create a new Github repository. Once your repository is created you can create a new Windows Azure Web Site and link it to your repository for automatic continuous deployments.
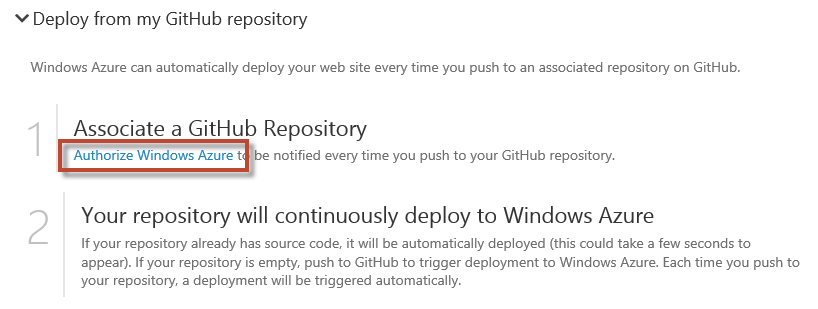
In order to setup continous integration, open the web site’s dashboard and click “Set up Git publishing” in the “quick glance” section on the right. After your Git repository is ready click the section labeled ”Deploy from my GitHub Repository” and click “Authorize Windows Azure” as shown below.
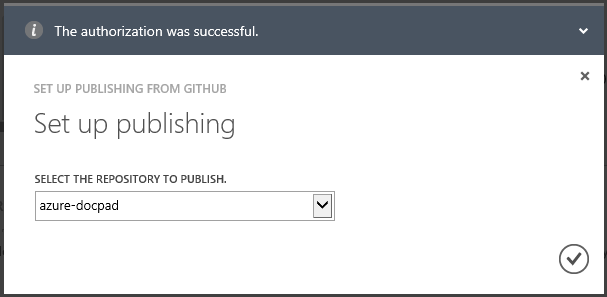
If you have never done this before, you will be prompted to Authorize Windows Azure to access your Github account. After Windows Azure is authorized select your Github repository as shown below.
 Now that everything is connected for continuous integration we just need to push our site to github. Run the following commands to add the files, commit them, add the remote, and push the code.
git add .
git commit -m "Added docpad site"
git remote add origin https://github.com/<username>/<repository>.git
git push origin master
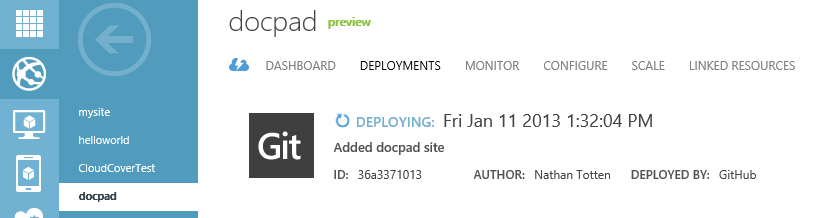
After the push is complete you will see that your site deployment kicks off almost immediately.
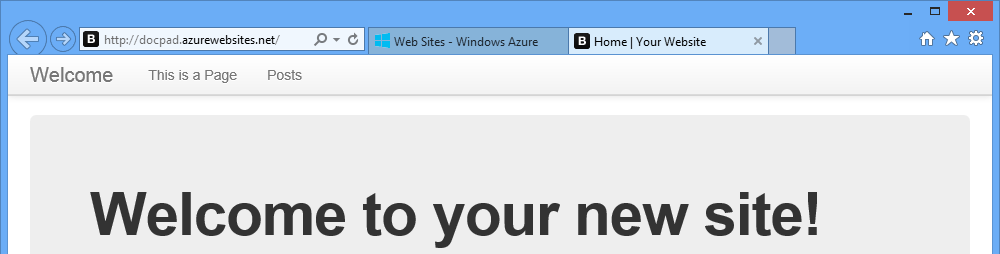
The deployment should finish in about 30 seconds and your site will be ready. Browse to the site and you will see your new docpad site.
You can find the full source for this post on Github here.