NodeJS on Windows Azure
We have been working on some enhancements to the Windows Azure Toolkit for Social Games in the past few weeks. One of the enhancements has been to include support for Web Sockets to enable faster real time communication between the different players of a game. There are a lot of choices out there for running Web Sockets, but the one we liked best was Socket.IO on Node.JS. Node.JS is getting to the point where it runs almost as well on Windows as is does on Linux and it is improving weekly. This post will show you the most basic setup of how to run Node.JS on Windows Azure.
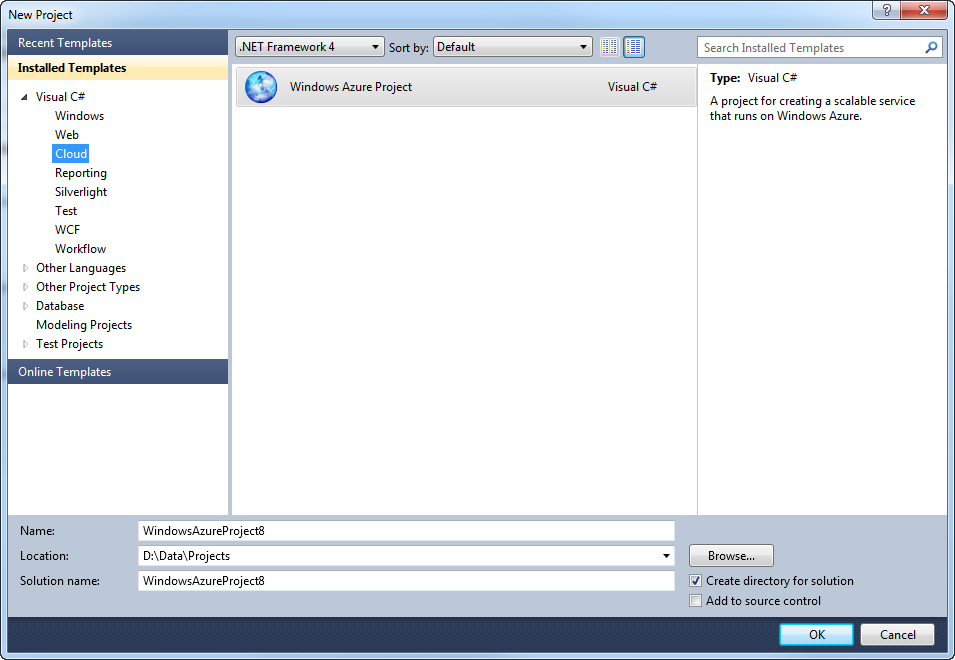
The first thing you will want to do is setup your Windows Azure project. We will create a standard cloud project with a single Worker Role.
Create our cloud project:
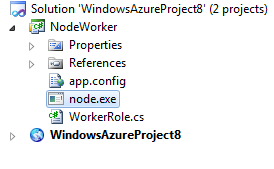
Add our worker role:

Now we need to add node.exe to our worker role. You can download the current Windows build for Node.JS on www.nodejs.org.
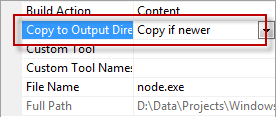
I am going to add node.exe to the root of my worker role. When you add it, make sure you set the Copy To Output Directory property to “Copy if newer”.
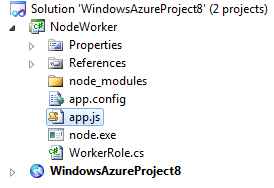
Next, we need to add our app.js file. This will be our node applications entry point. While I am at it I will also create a folder called “node_modules”. This folder will be used for any modules I want to include in the project. I am not going to show that in this post, but you will need to download modules manually because Node Package Manager does not yet work on Windows. You will need to make sure you set your app.js file and any module files to “Copy if newer” as well.
Now we need to do is modify our worker role entry point to start the node.exe process.
public class WorkerRole : RoleEntryPoint
{
  Process proc;

  public override void Run()
  {
    proc.WaitForExit();
  }

  public override bool OnStart()
  {
    proc = new Process()
    {
      StartInfo = new ProcessStartInfo(
        Environment.ExpandEnvironmentVariables(@"%RoleRoot%approotnode.exe"), "app.js")
      {
        UseShellExecute = false,
        CreateNoWindow = true,
        WorkingDirectory = Environment.ExpandEnvironmentVariables(@"%RoleRoot%approot"),
      }
    };
    proc.Start();

    return base.OnStart();
  }
}
We will take the most basic example of a node app and add that code to our app.js file.
var http = require('http');

http.createServer(function (req, res) {
  res.writeHead(200, { 'Content-Type': 'text/plain' });
  res.end('NodeJS.exe running on Windows Azure!');
}).listen(8080);
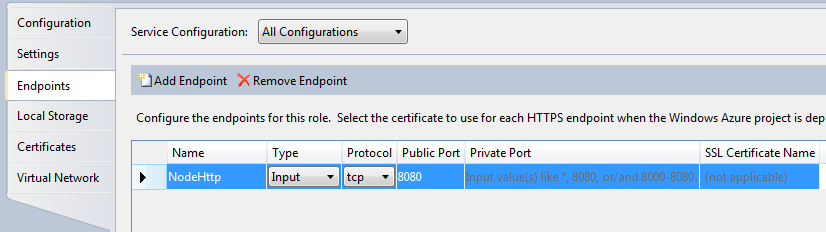
Next, we need to make sure we open up the ports we are using in node. In this case we are listening on port 80. This change is made in our worker role cloud configuration.
Now we are ready to deploy the application to Windows Azure. After your application is deployed you can navigate to your cloudapp.net host and see your node.js server in action. You can see my sample deployed here: http://simplenodejs.cloudapp.net/ and you can download the sample code here: http://ntotten.blob.core.windows.net/shared/SimpleNodeJSSample.zip
Let me know how you plan on using Node.JS in Windows Azure.