Windows Azure Accelerator for Web Roles Version 1.1
Today we released the first update to the Windows Azure Accelerator for Web Roles. This update includes bug fixes and several new features. This release is compatible with the previous version of the accelerator so you can replace this version with your existing accelerator deployment and your sites will synchronize and continue working. In this post I will show you some of the new features and a few work arounds for some known issues. If you have not used this accelerator before be sure to read my intro post here.
MVC3 and PHP Support
The first change to the accelerator is that we now install MVC3 and PHP by default. Previously, you were required to modify the startup task to install those tools in the accelerator. Because so many people asked about it we decided to just include them by default. If you don’t want either MVC3 or PHP installed you can simply remove them from the ConfigureIIS.cmd startup task.
Improved Logging
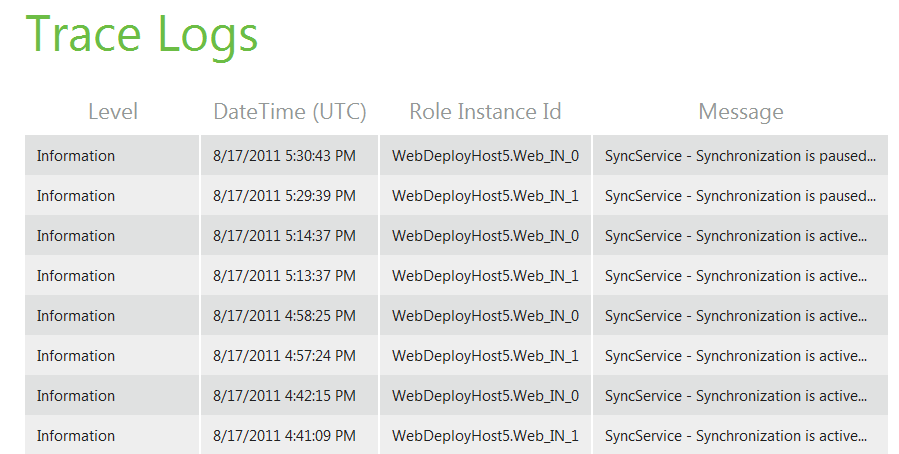
The second change is that we improved the logging processes for the accelerator. We added additional trace messages, and improved the details in the messages. These changes should help you better understand what is happening with the synchronization process and better diagnose issues if they arise.
Start/Stop Synchronization Process
The next feature we added was the ability to start and stop the synchronization process. Normally, the synchronization process continually runs on each web role instance to check for updated sites, configuration changes, etc. There are a couple reasons why you may want to stop this process.
The first is a work around for a known issue. When deploying large sites, the synchronization tool can actually pick up the site before it has finished deploying. This can result in inconsistent deployments across your instances. Generally this would be temporary as the synchronizer should resynchronize after the large site has finished deploying, but you want to avoid the partial synchronization altogether. For this reason, the recommended practice for deploying large sites is to stop the synchronizer before you deploy and then start it after the deployment has finished.
The second reason you may want to stop the synchronization process is to save on storage transactions. The default configuration for the synchronization is to check blob and table storage for changes every 15 seconds. Additionally, there is a log message written every time a synchronization occurs. This results in 12 storage transactions per instance per minute or about 518,400 transactions per month. This may seem like a lot, but remember that transactions only cost $0.01 per 10,000 so the cost of these synchronizations is only about $0.50 per instance per month. For a company doing lots of deployments to Windows Azure this is probably well worth the cost. However, if you are only deploying occasionally you can save a few dollars per month by disabling the synchronization process until you need to deploy.
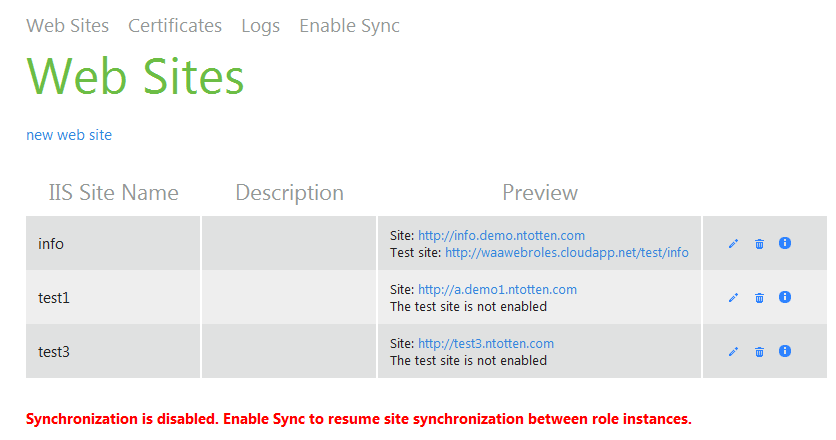
To start and stop the synchronization process simply click the “Disable Sync” link at the top of your admin page. When synchronization is disabled, you will see a warning message at the bottom of the admin portal.
Test Site Binding
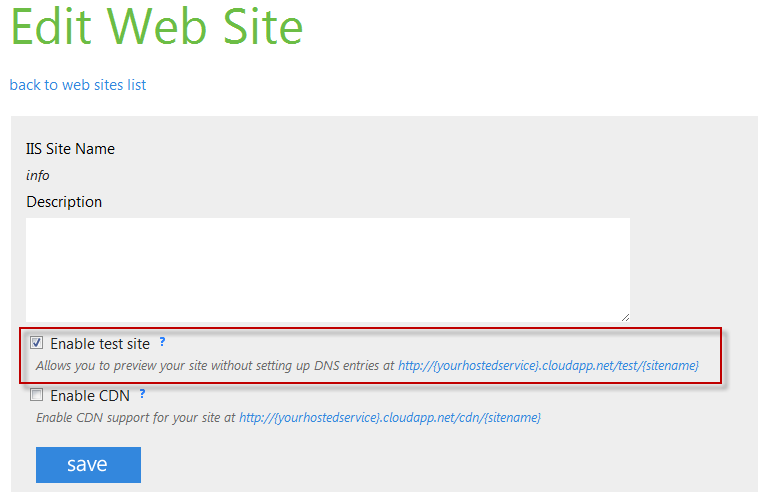
The next feature in this release makes it easier to test your site without changing your DNS or modifying your host file. In the previous release the only way to view your site was using the host header such as mysite.example.com. In this release we have enabled an option for testing your site from the mysite.cloudapp.net url. If you enable the test site feature you will be able to view your site at:
Windows Azure CDN Support
Similar to the test site binding we also added a CDN binding. This allows you to use your web role accelerator sites as a backing store for the Windows Azure CDN. The Windows Azure CDN will only request content from
To enable support for the Windows Azure CDN in each site simply check the “Enable CDN” box in the site configuration page as shown below.

We hope this version of the accelerator improves your experience and makes it easier to you to deploy your sites to Windows Azure. As always, if you have any feedback please leave a comment here or on the CodePlex site.