Multitenant Windows Azure Web Roles with Live Deployments
Update: I would recommend using the Windows Azure Accelerator for Web Roles instead of this code. See my post about it here.
For most Windows Azure applications the traditional one role one application model works very well. You get extreme reliability, high performance, and lots of options for scale. The other situation where you have a set of web applications that are all related works well with the new support for multiple websites in a single instance. The problem with both of these traditional approaches is that every time you want to update one of your applications you must redeploy the entire web role. If you want to share a single role with a variety of different web sites that are unrelated and on different deployment cycles we need to build a custom solution.
Enter the Multitenant Azure Web Role project. This project was started with some code given to me by Steve Marx and is completely open source. The source has been added to the Windows Azure Toolkit. This project solves a common problem with a simple solution and enables us to deploy web applications to a shared web role within a matter of seconds. No waiting for the role to upload and deploy and no redeploying of all the sites just to update a single site.
Now, a little about how it works. First, we have a standard web role project with a single web application. This web application is responsible for only one thing, deploying other web applications. When this application starts (and every 30 seconds thereafter) it checks an Azure blob container for zip files. These zip files contain websites. The zip files are uploaded to the blob and use a standard naming convention of hostheader.zip. For example, if we want to deploy a site called newsite.ntotten.com we would package our web site up in a zip file and name that zip file newsite.ntotten.com.zip.
After the zip files are uploaded to the blob and the application deployment engine picks them up the zip file is decompressed, the web application is created, certificates are installed, and website bindings are added with the appropriate host headers.
All of this happens in the background in less than a minute. If you have multiple instances running, each instance will read the blob and deploy the site. You can have as many instance as you need. Additionally, if an instance crashes everything will be built back up the next time the instance starts.
So lets take a look at the process step by step.
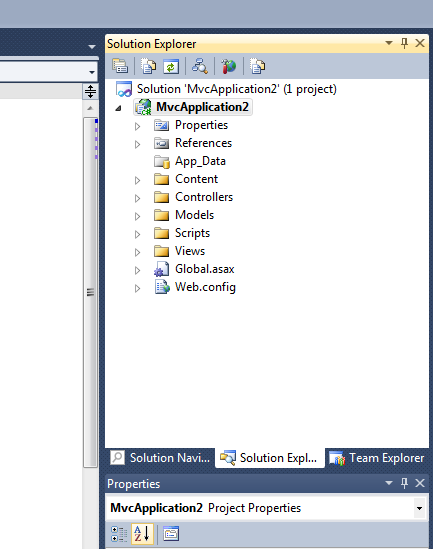
First, we have a standard web application:
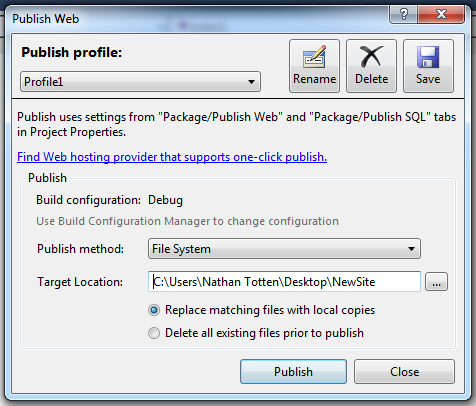
Next we publish this application to a folder on our local computer.
Now we create a folder with the following structure:

The site folder contains the files from the web publish operation. The certificate.pfx file is the SSL certificate you would like to use for the website. The Certificate.pass file is just a text file that contains the raw text of your certificate password. (This is obviously not secure and you should probably encrypt the password or something, you can modify the source of the WebDeployEngine.cs accordingly.)
Next you want to zip up the site folder, Certificate.pass file, and the Certificate.pfx file into a compressed file. Name the file with the convention of hostheader.zip. The certificate file and certificate password file is completely optional. If you include the certificate the site will be setup with both HTTP and HTTPS bindings.

Now to deploy the site we need to upload the zip file to our blob container. I use Cloud Storage Studio for this, but you could use any tool you like.
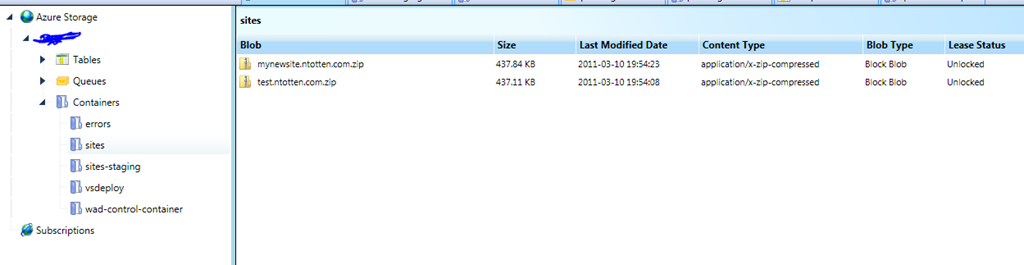
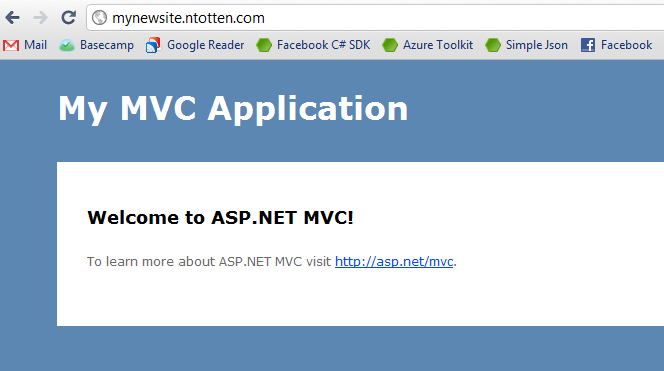
Now all we have to do is wait about 30 seconds and our website will be deployed to our web role with the host header mysite.ntotten.com along side the other site test.ntotten.com. To do updates all you need to do is to upload a new version of the zip file over the old one and the WebDeployEngine will detect the newer file and deploy your new version of your site. After that you will need to make sure you have your dns setup to point your new domain to your web role.
That’s pretty much it. A simple and scalable solution for multitenant web hosting on Azure.
You can download the solution in two ways. You can either get the source to add to your web role on NuGet using the package MutitenantWebRole or you can download the Azure role package on codeplex. You can download the zipped website sample used in the this post here.
Let me now how it works out for you.