ASP.NET MVC RC on Mosso
Today, I setup my first production ASP.NET MVC website. After a little investigation and a contact to Mosso’s tech support everything went up as planned. The first step is to configure your application like you would for any IIS7 host. You don’t need to have the “mvc” extension after your controllers in your routes. Next upload the application to your Mosso website. When you upload your site make sure you include the ASP.NET MVC dll files in your website’s bin directory. The needed files are System.Web.Abstractions.dll, System.Web.Mvc.dll, and System.Web.Routing.dll. These files will be located in Program FilesMicrosoft ASP.NETASP.NET MVC RCAssemblies on your computer. At this point your default route should be working. The last thing to take care of is resolving the 404 error you will receive when accessing urls within the site.
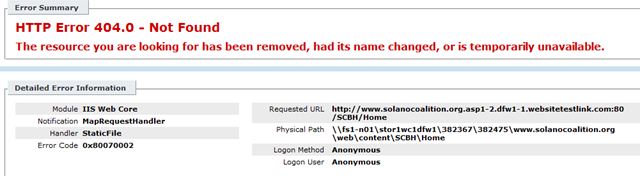
The reason for the error is that Mosso runs all IIS7 applications in classic mode by default. You will need to contact Mosso tech support and ask them to switch your application to integrated mode. It will take about 15 minutes for the changes to propagate to all of Mosso’s servers. After the propagation is complete your ASP.NET MVC site should be up and running.
This process should work on any shared host or cloud host as long as they are running Windows Server 2008 and allow you to run your application in integrated mode.